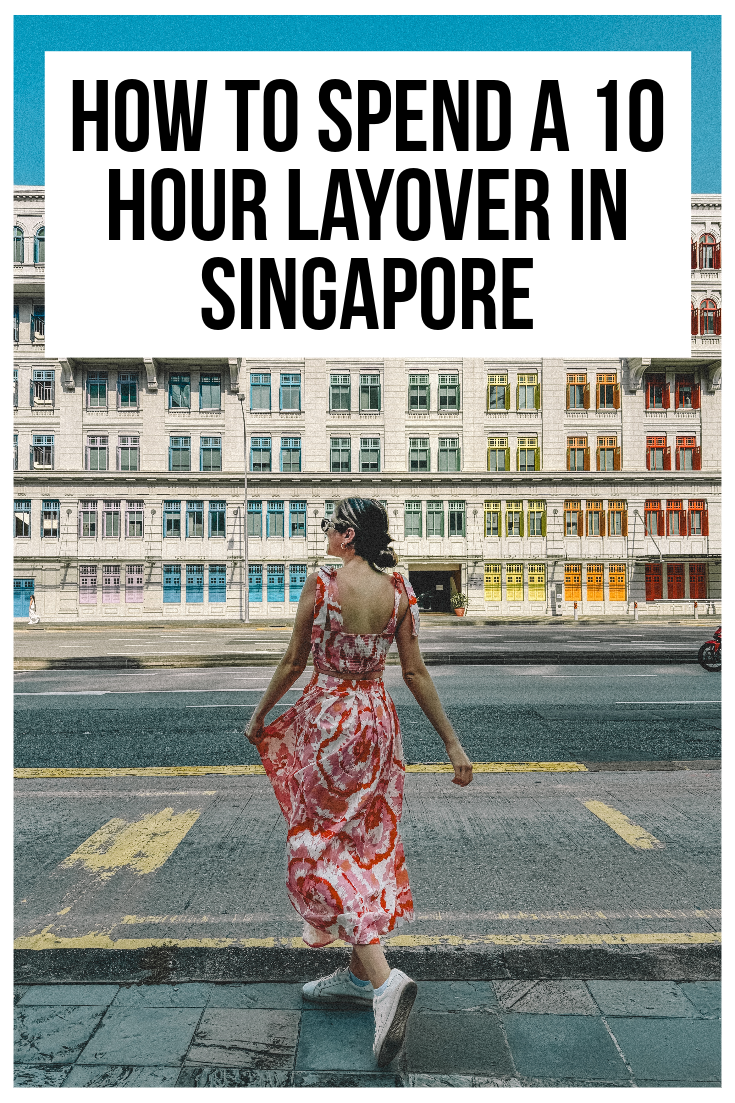
While hunting for flights to India, I spotted a flight from San Francisco passing through Singapore with an ~11-hour (10 hours and 40 minutes to be exact) layover. Immediately intrigued, I quickly researched the distance to the city from the airport and how doable exploring during a layover would be. The short answer is that Singapore is the perfect place for exploring during a long layover. I’m sharing my itinerary and everything you need to know for your Singapore layover.
Singapore Layover Note

As I was traveling alone, I booked a private tour with Airbnb Experiences (more on that later). My flight landed about an hour late which originally had me nervous – would I have enough time to explore and get back for my next flight? With only 9 hours and 40 minutes to start my layover, I can confirm that I still had time to hang out at the lounge, shower, change, grab a coffee, and explore the airport a bit.
Singapore Layover Logistics: Visa + Baggage Storage

VISA: Depending on your nationality, Singapore has different entry requirements which you can find here. A visa is not required for citizens of the US if you’re only visiting for a layover (it’s called the “Visa Free Transit Facility“, the only requirement is to fill out the SG Arrival Card which is a health declaration form.
- NOTE: Submitting the SG Arrival Card can only be done max 3 days before you arrive in Singapore. I did this when I was checking into my flight and printed the form.
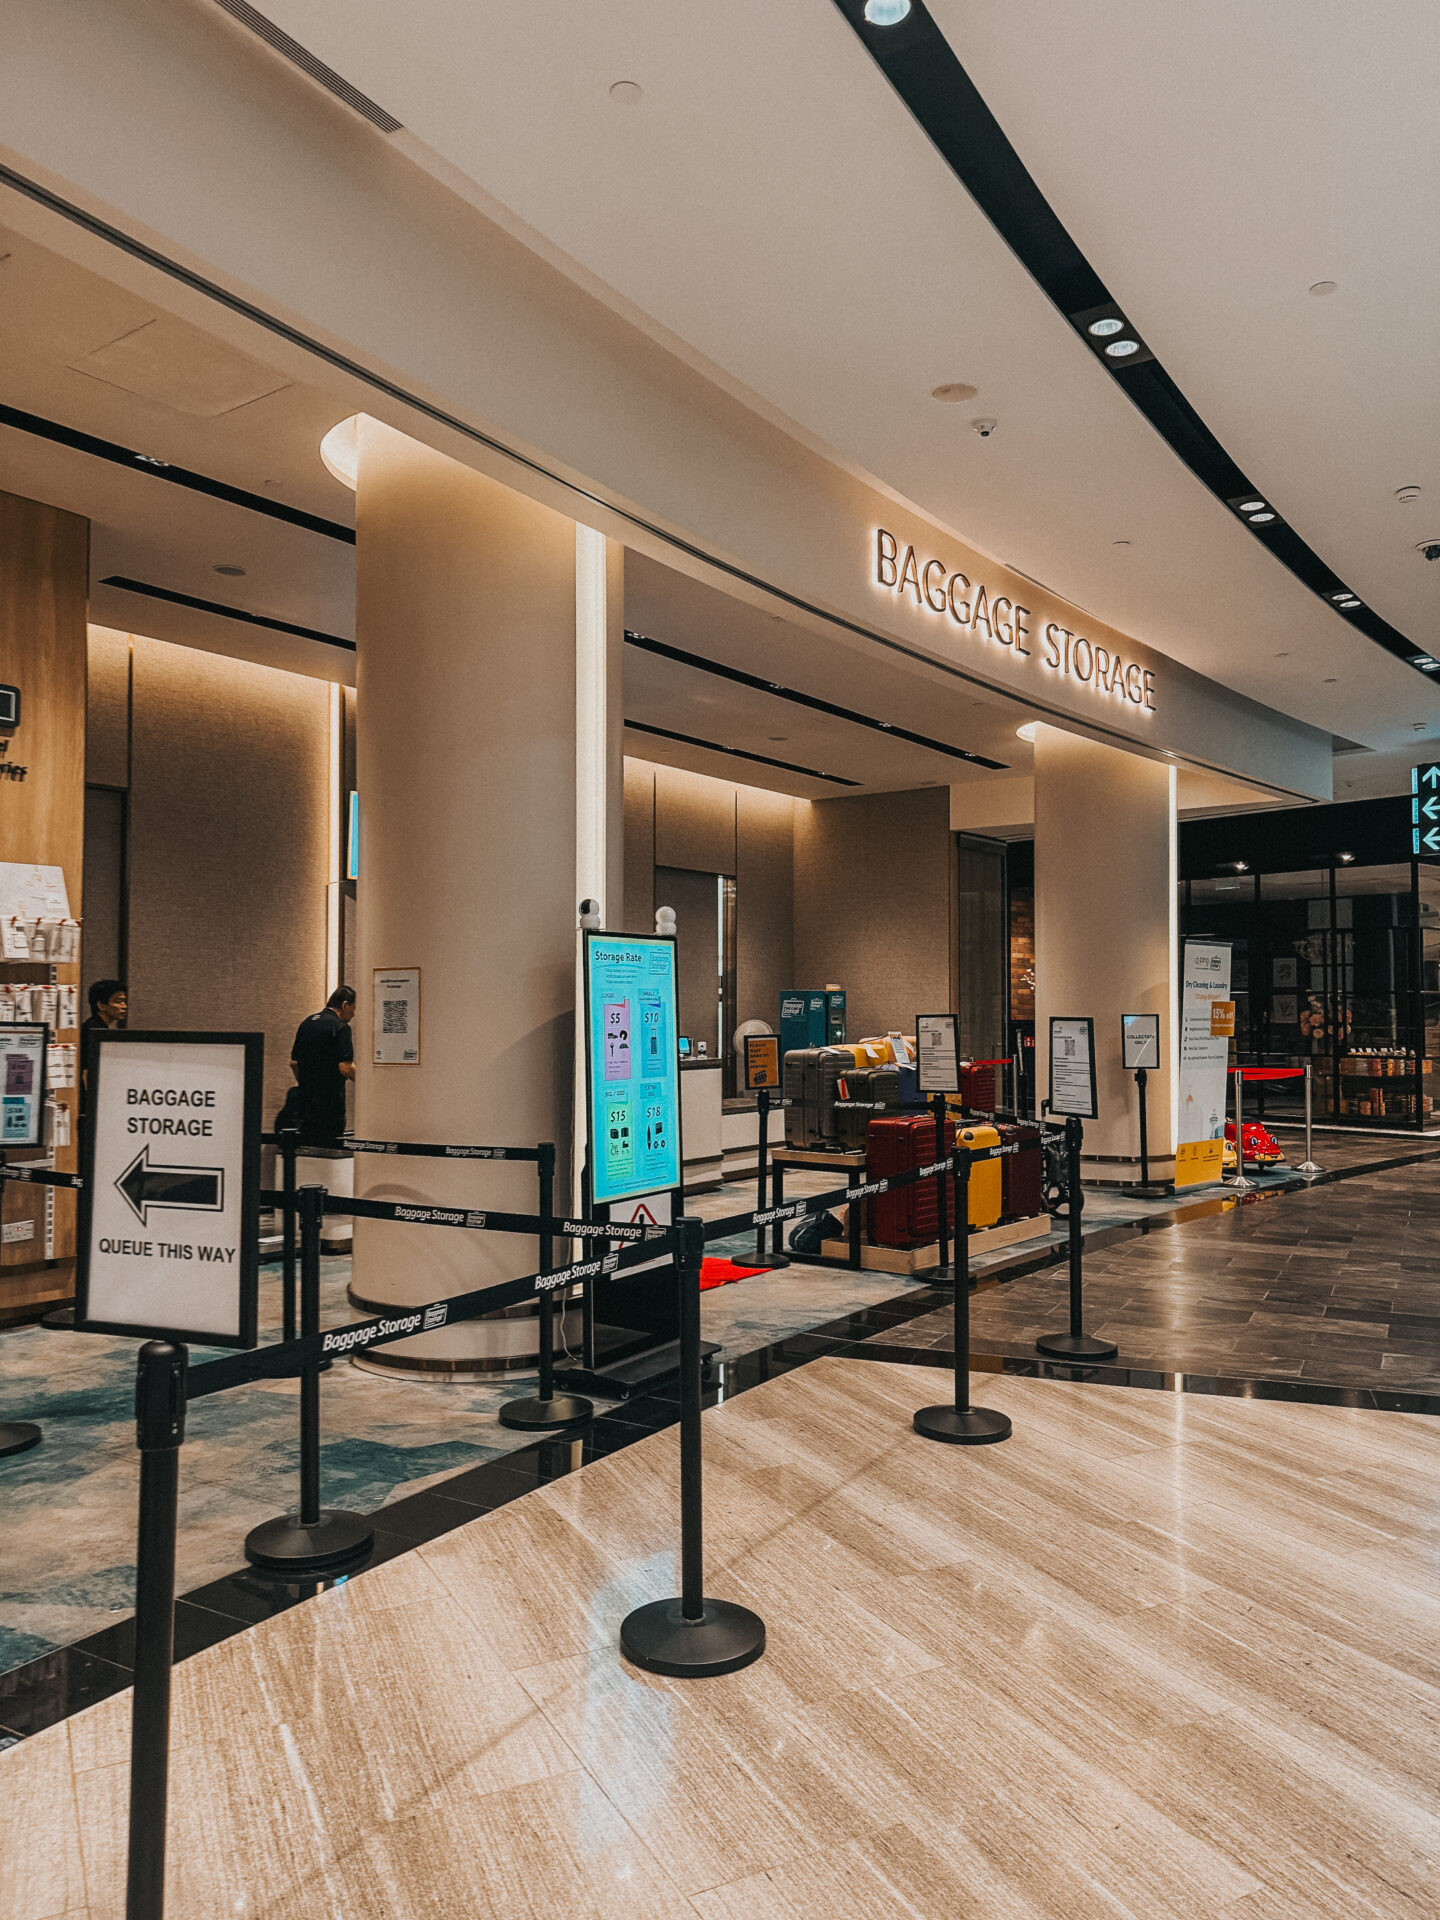
BAGGAGE STORAGE: There are various baggage storage facilities throughout the airport. The website shows the different locations in each terminal.
- Hours: 24 hours
- Pricing: is per 24 hours and ranges from S$5 to S$18.
- Pro Tip: I selected the baggage storage located next to the Jewel on Level 1 due to it being near the taxi area and one of the lounges, making it easier (and faster) to get into the city.
How to Get from the Airport to Downtown Singapore
While there is public transportation as well as rideshare services to get you to the downtown, due to the time constraint, the best option was to catch a taxi from/to the airport. There is a stand at the airport, and official taxi stands located throughout the city.
- Distance to the city by taxi: ~20 minutes
- Pricing: ~S$20-$25 each way
- Pro Tip: Use the ATMs at the airport to withdraw some cash before you head out. I withdrew about S$100 which ended up being too much. I used the cash for tipping and for some street food I purchased. I think you can be comfortable with S$50 if you’re not doing any shopping.
Singapore Layover Itinerary
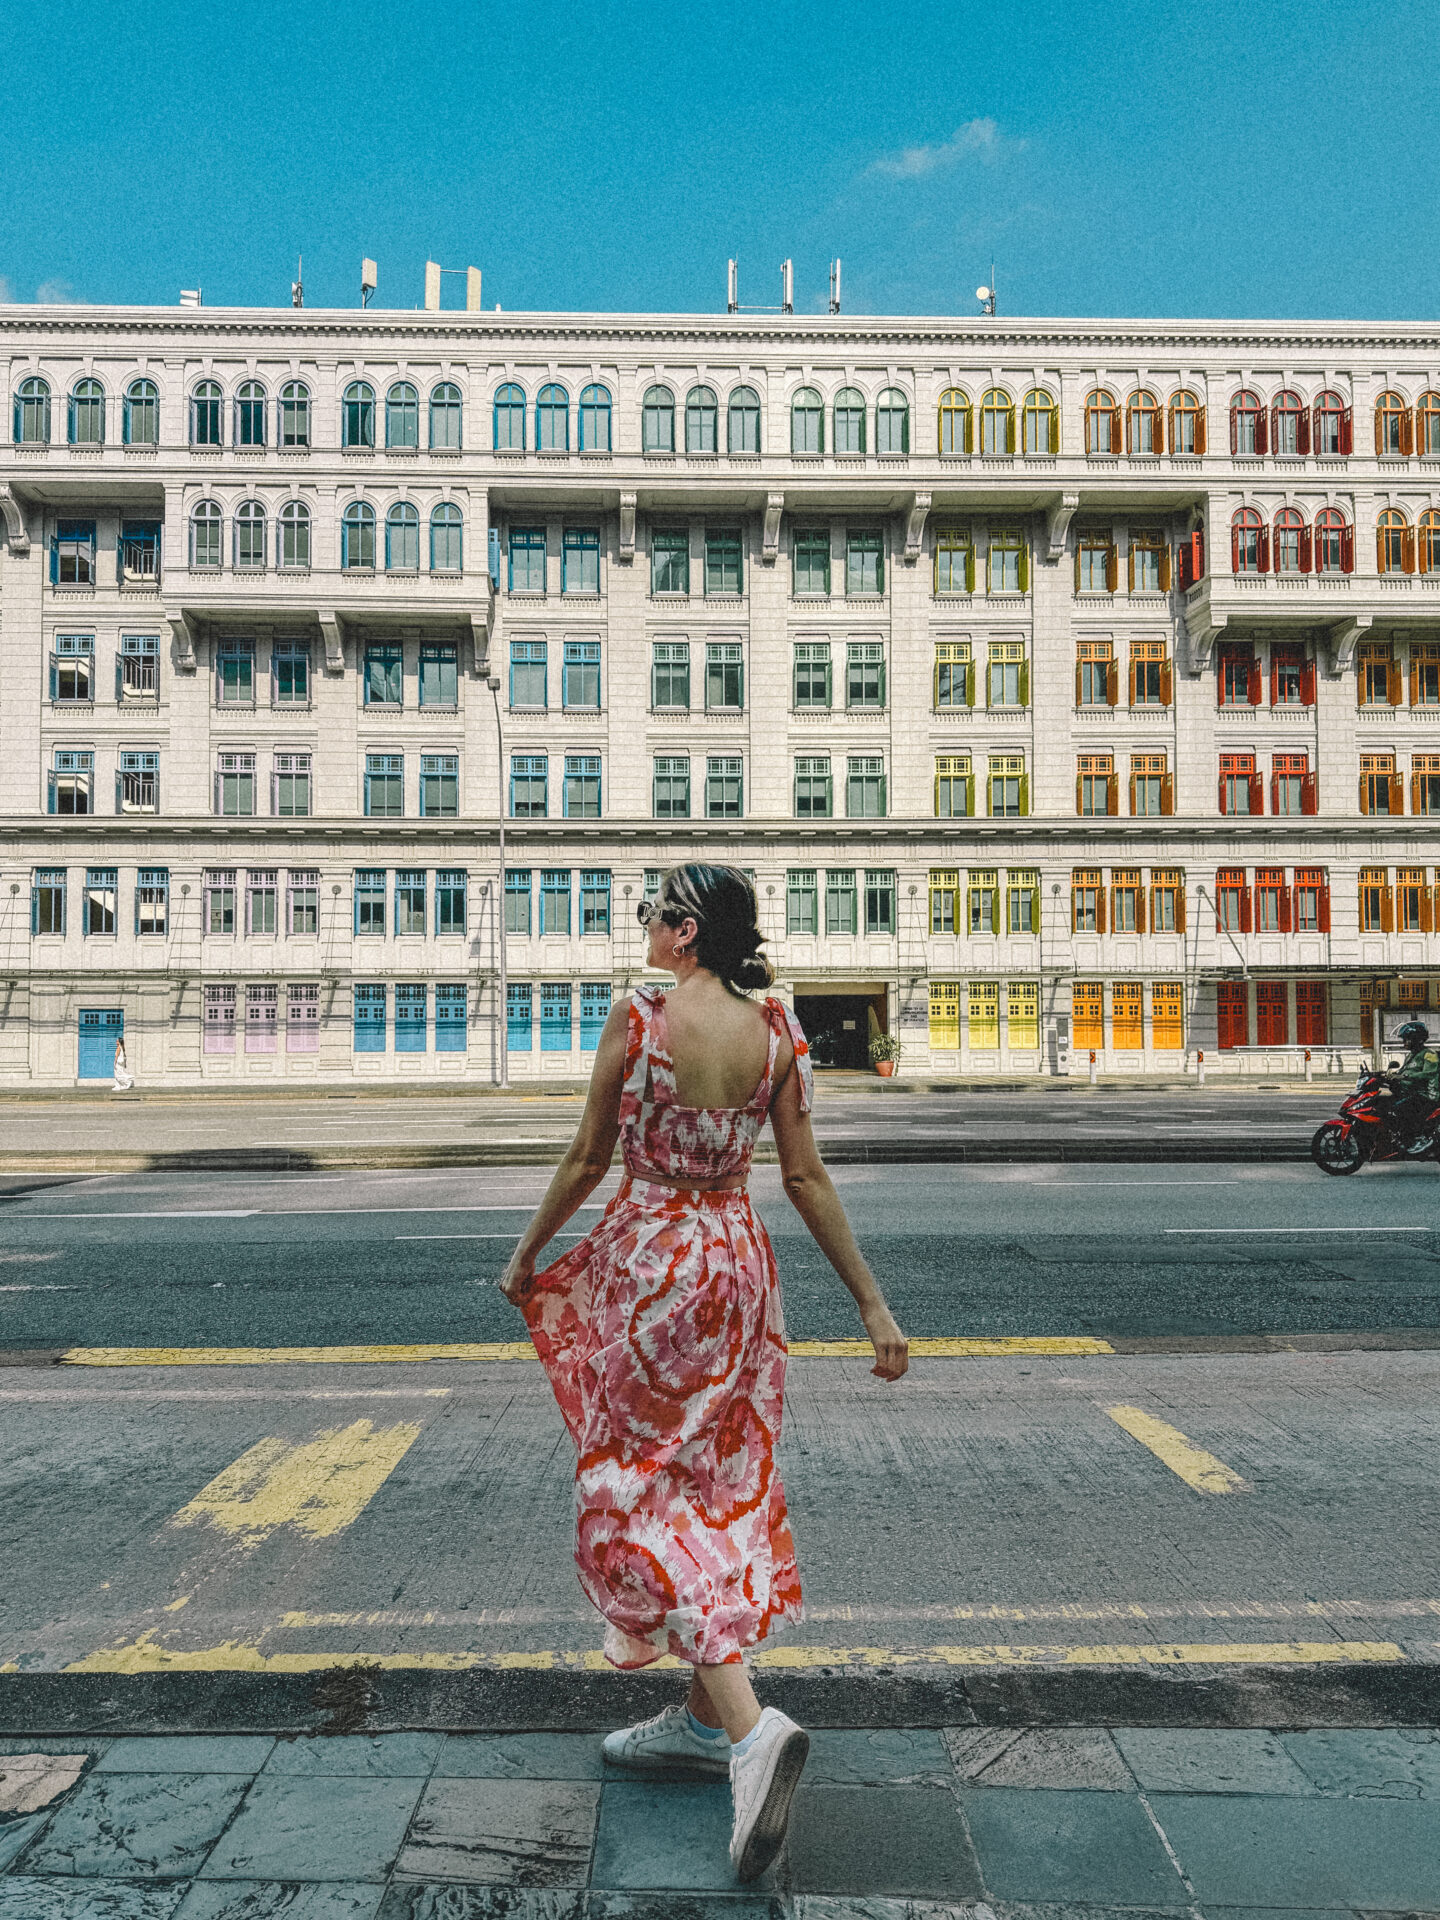
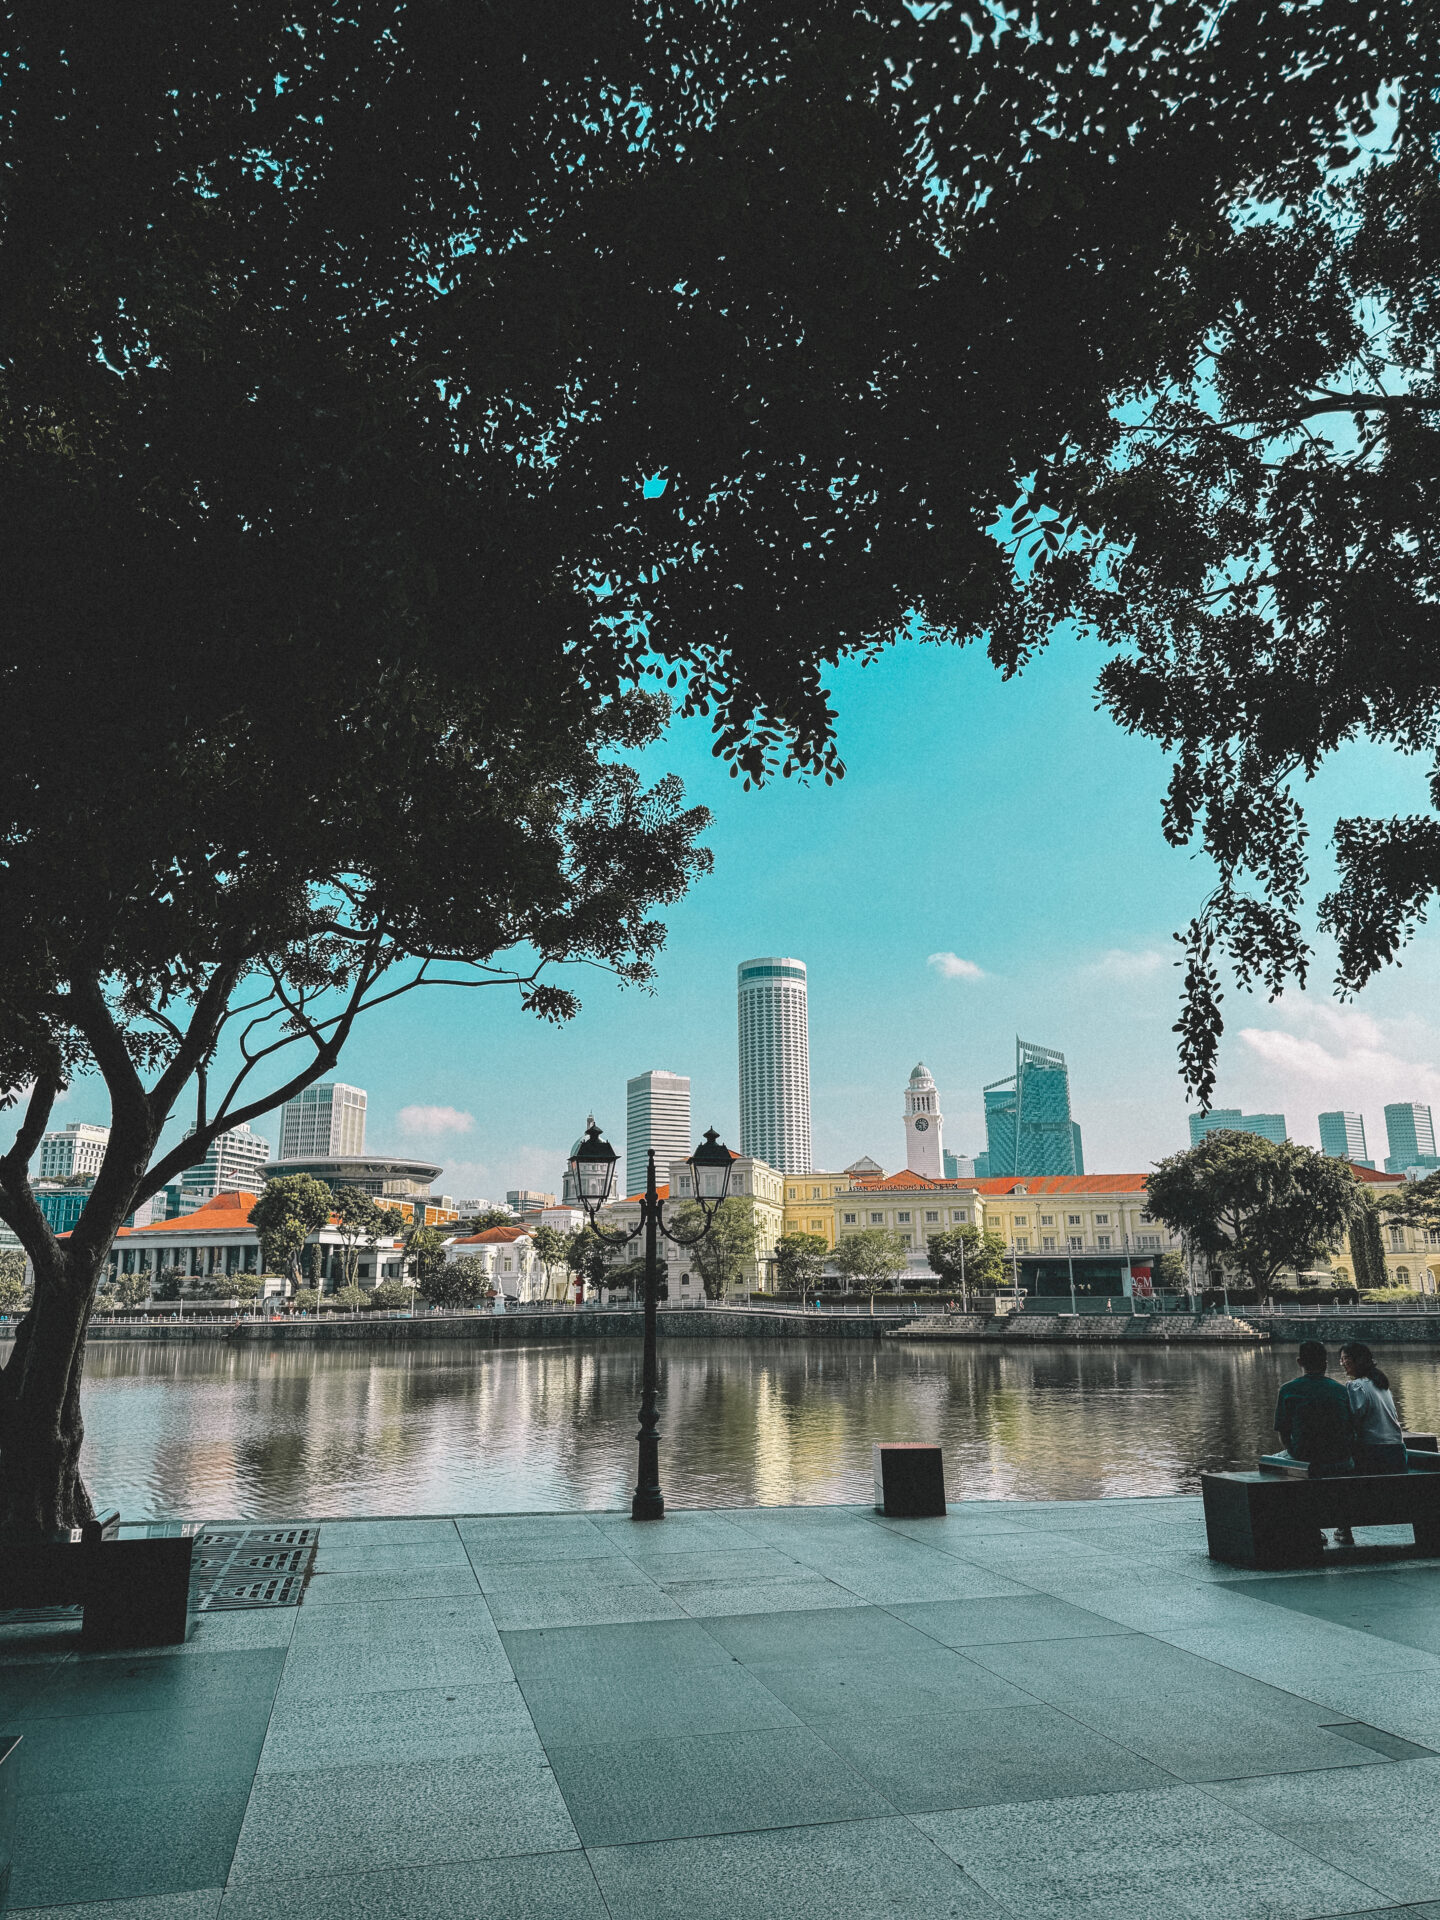
As previously mentioned, I booked a ~4-hour tour via Airbnb Experiences with local Danny. It was a customizable primarily walking tour that was incredibly flexible. He caters the itinerary to your interests which is great. Full disclaimer here: Singapore is very safe and organized so you don’t necessarily need a guided tour. That being said, I was on my own and I enjoyed exploring with a local – it felt like a friend was showing me around!
Our itinerary:
- Meet near Old Hill Street Police Station (a historical and colorful monument great for photos.)
- Walk along the Singapore River
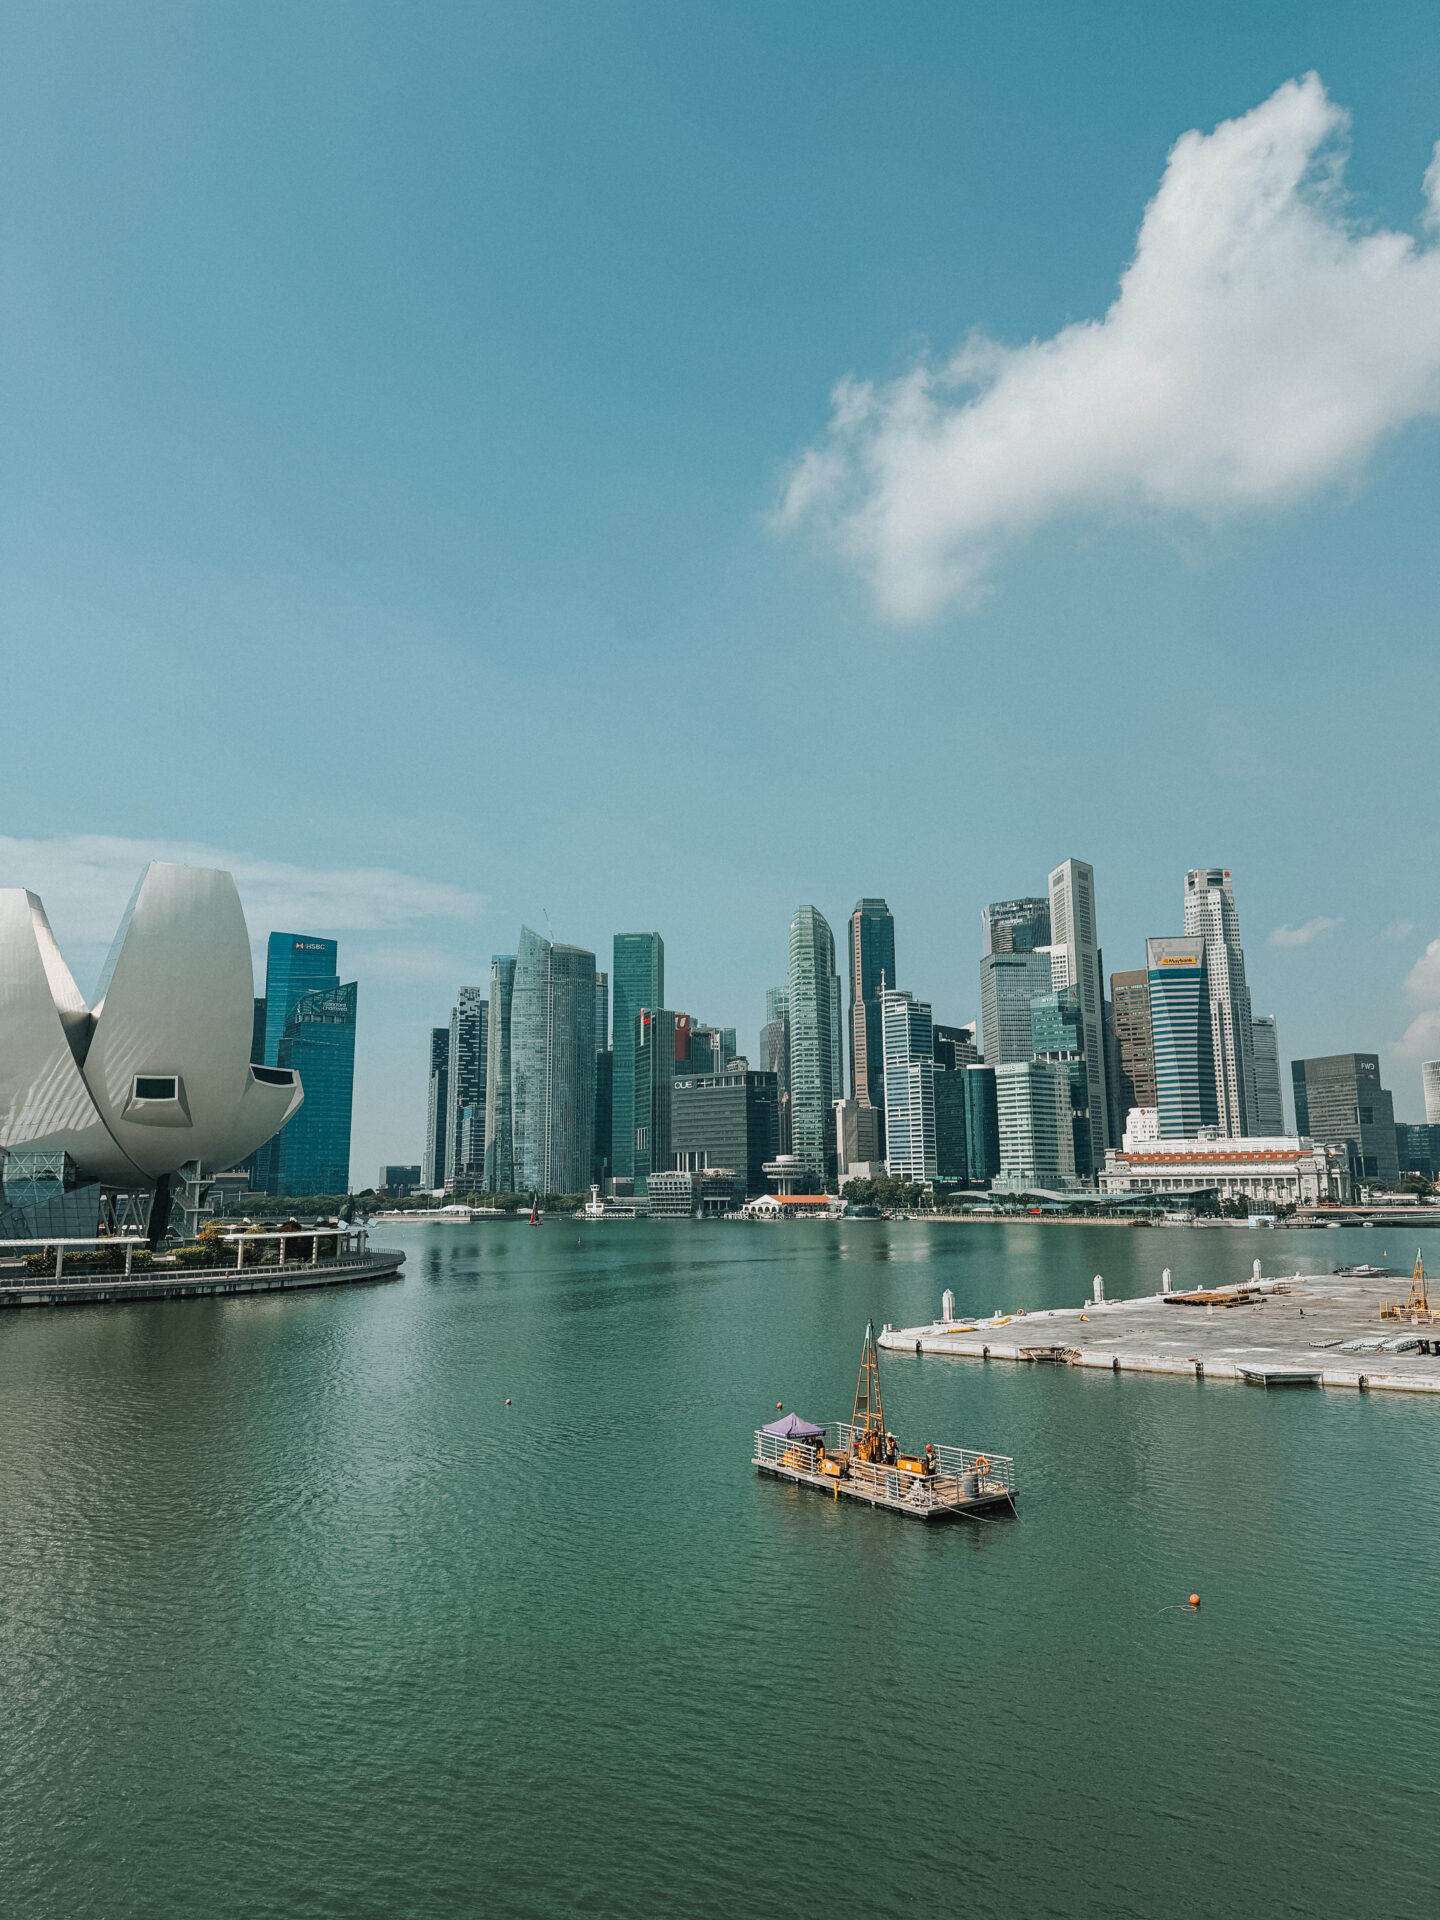
- Explore Marina Bay Sands
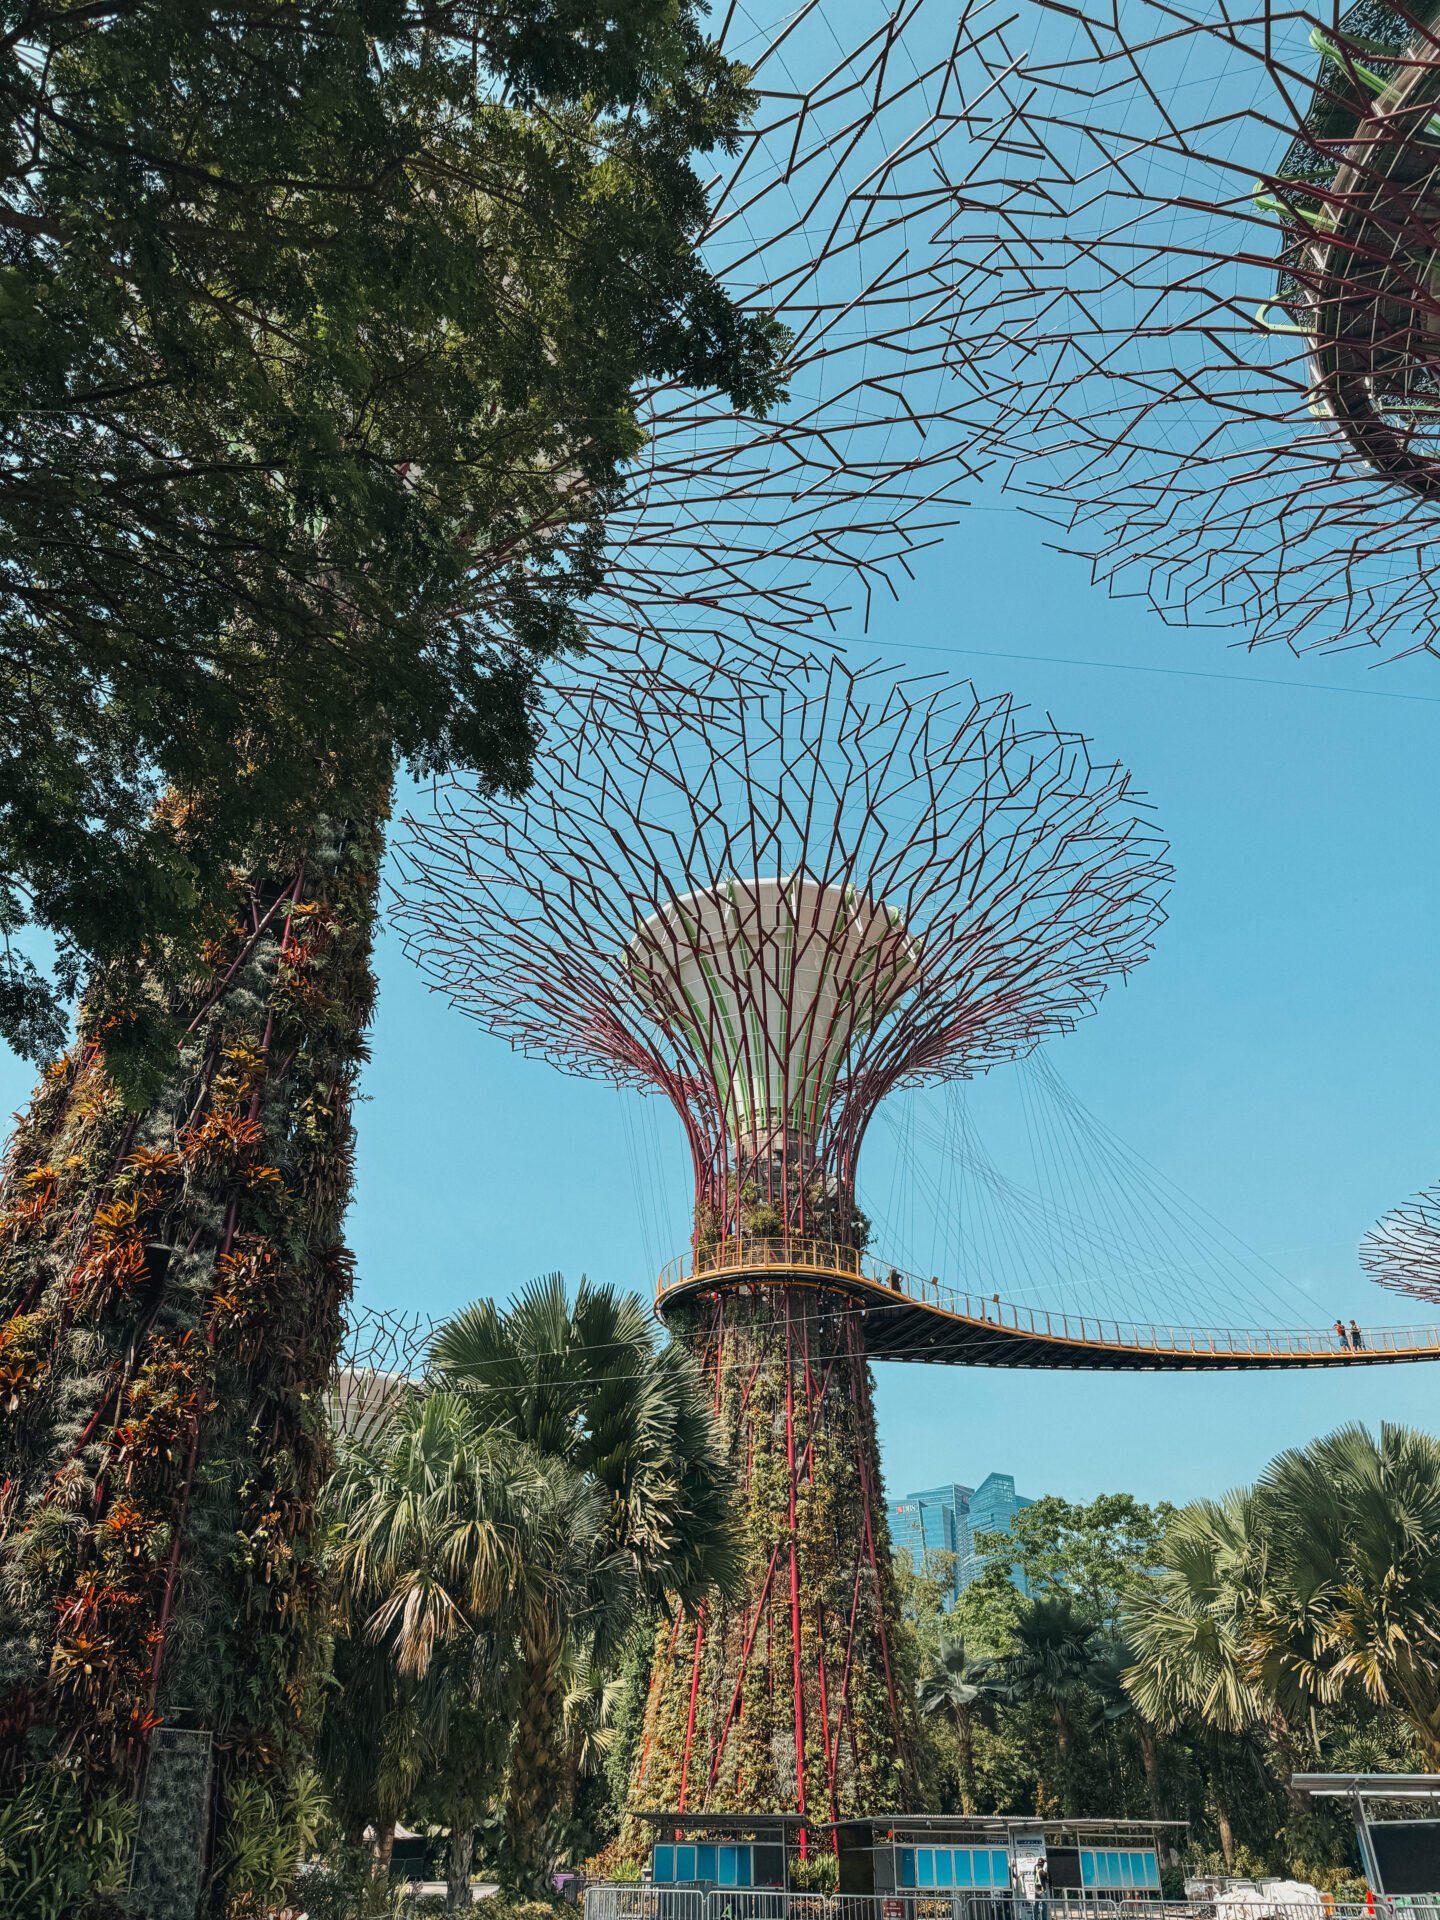
- Walk around Gardens by the Bay (majority of our time)
- Local lunch
Pro Tip: I immensely enjoyed the Gardens by the Bay – this was a definite highlight of the entire layover. You could easily spend the entire day here. If I had to do the experience over, here’s what I would recommend:
- Go directly to the Gardens by the Bay from the airport and pre-buy your ticket online. We did the Cloud Forest + Flower Dome for S$53 which was 100% worth it! We spent ~1 hour in the Cloud Forest alone.
- After exploring the gardens, head to the rooftop of the Marina Bay Sands for lunch at Spago.
Things to do at the Changi Airport

After the tour, I headed straight back to the airport. As mentioned, I still had time to do some exploring! I spent quite a bit of time at the Jewel (the biggest indoor waterfall in the world) and in their mall. To be honest, you could easily spend your whole day at the airport as well. Learn more here about all the attractions at the airport.
Pro Tip: One big note – Singapore has security checks at the gate. Give yourself a bit of time after you get into the terminal to get through security at the gate!
If you enjoyed the Singapore Layover Diary, here are a few more layover itineraries:
Layover in Bordeaux, France Itinerary
How to Spend 9 Hours in Lisbon, Portugal
5 Hours in New York City, Itinerary

