Drum roll pleaseeee, a few of the Europe trip pics are here. Fellow blogger (or person that just loves filling their ‘gram with great pictures), I think we can all relate to times where we’ve visited cool places and are either traveling alone or with someone that simply doesn’t understand photography. So here are my tips for getting the perfect Instagram travel shot & PS: All the photos in this post were taken on my Iphone 6S.
7 Tips for the Perfect Instagram Travel Shot
Leave the DSLR at home
This one might seem counter-intuitive. Since I’ve started taking blogging more seriously, I bought a portrait lens for my DSLR. I was determined to have my mom take “blog quality” photos on our trip to Europe. I brought my DSLR and 2 lenses which by the way took up a lot of space considering I was living out of a carry on for a month. The first few days I was trying to explain how to use my camera. Unfortunately the shots weren’t what I wanted. I eventually realized that almost everyone on the planet is comfortable using an iphone.
Some of the best shots of the trip were taken on my iphone. It made me wish I’d left the DSLR at home.
Say yes to the selfie stick
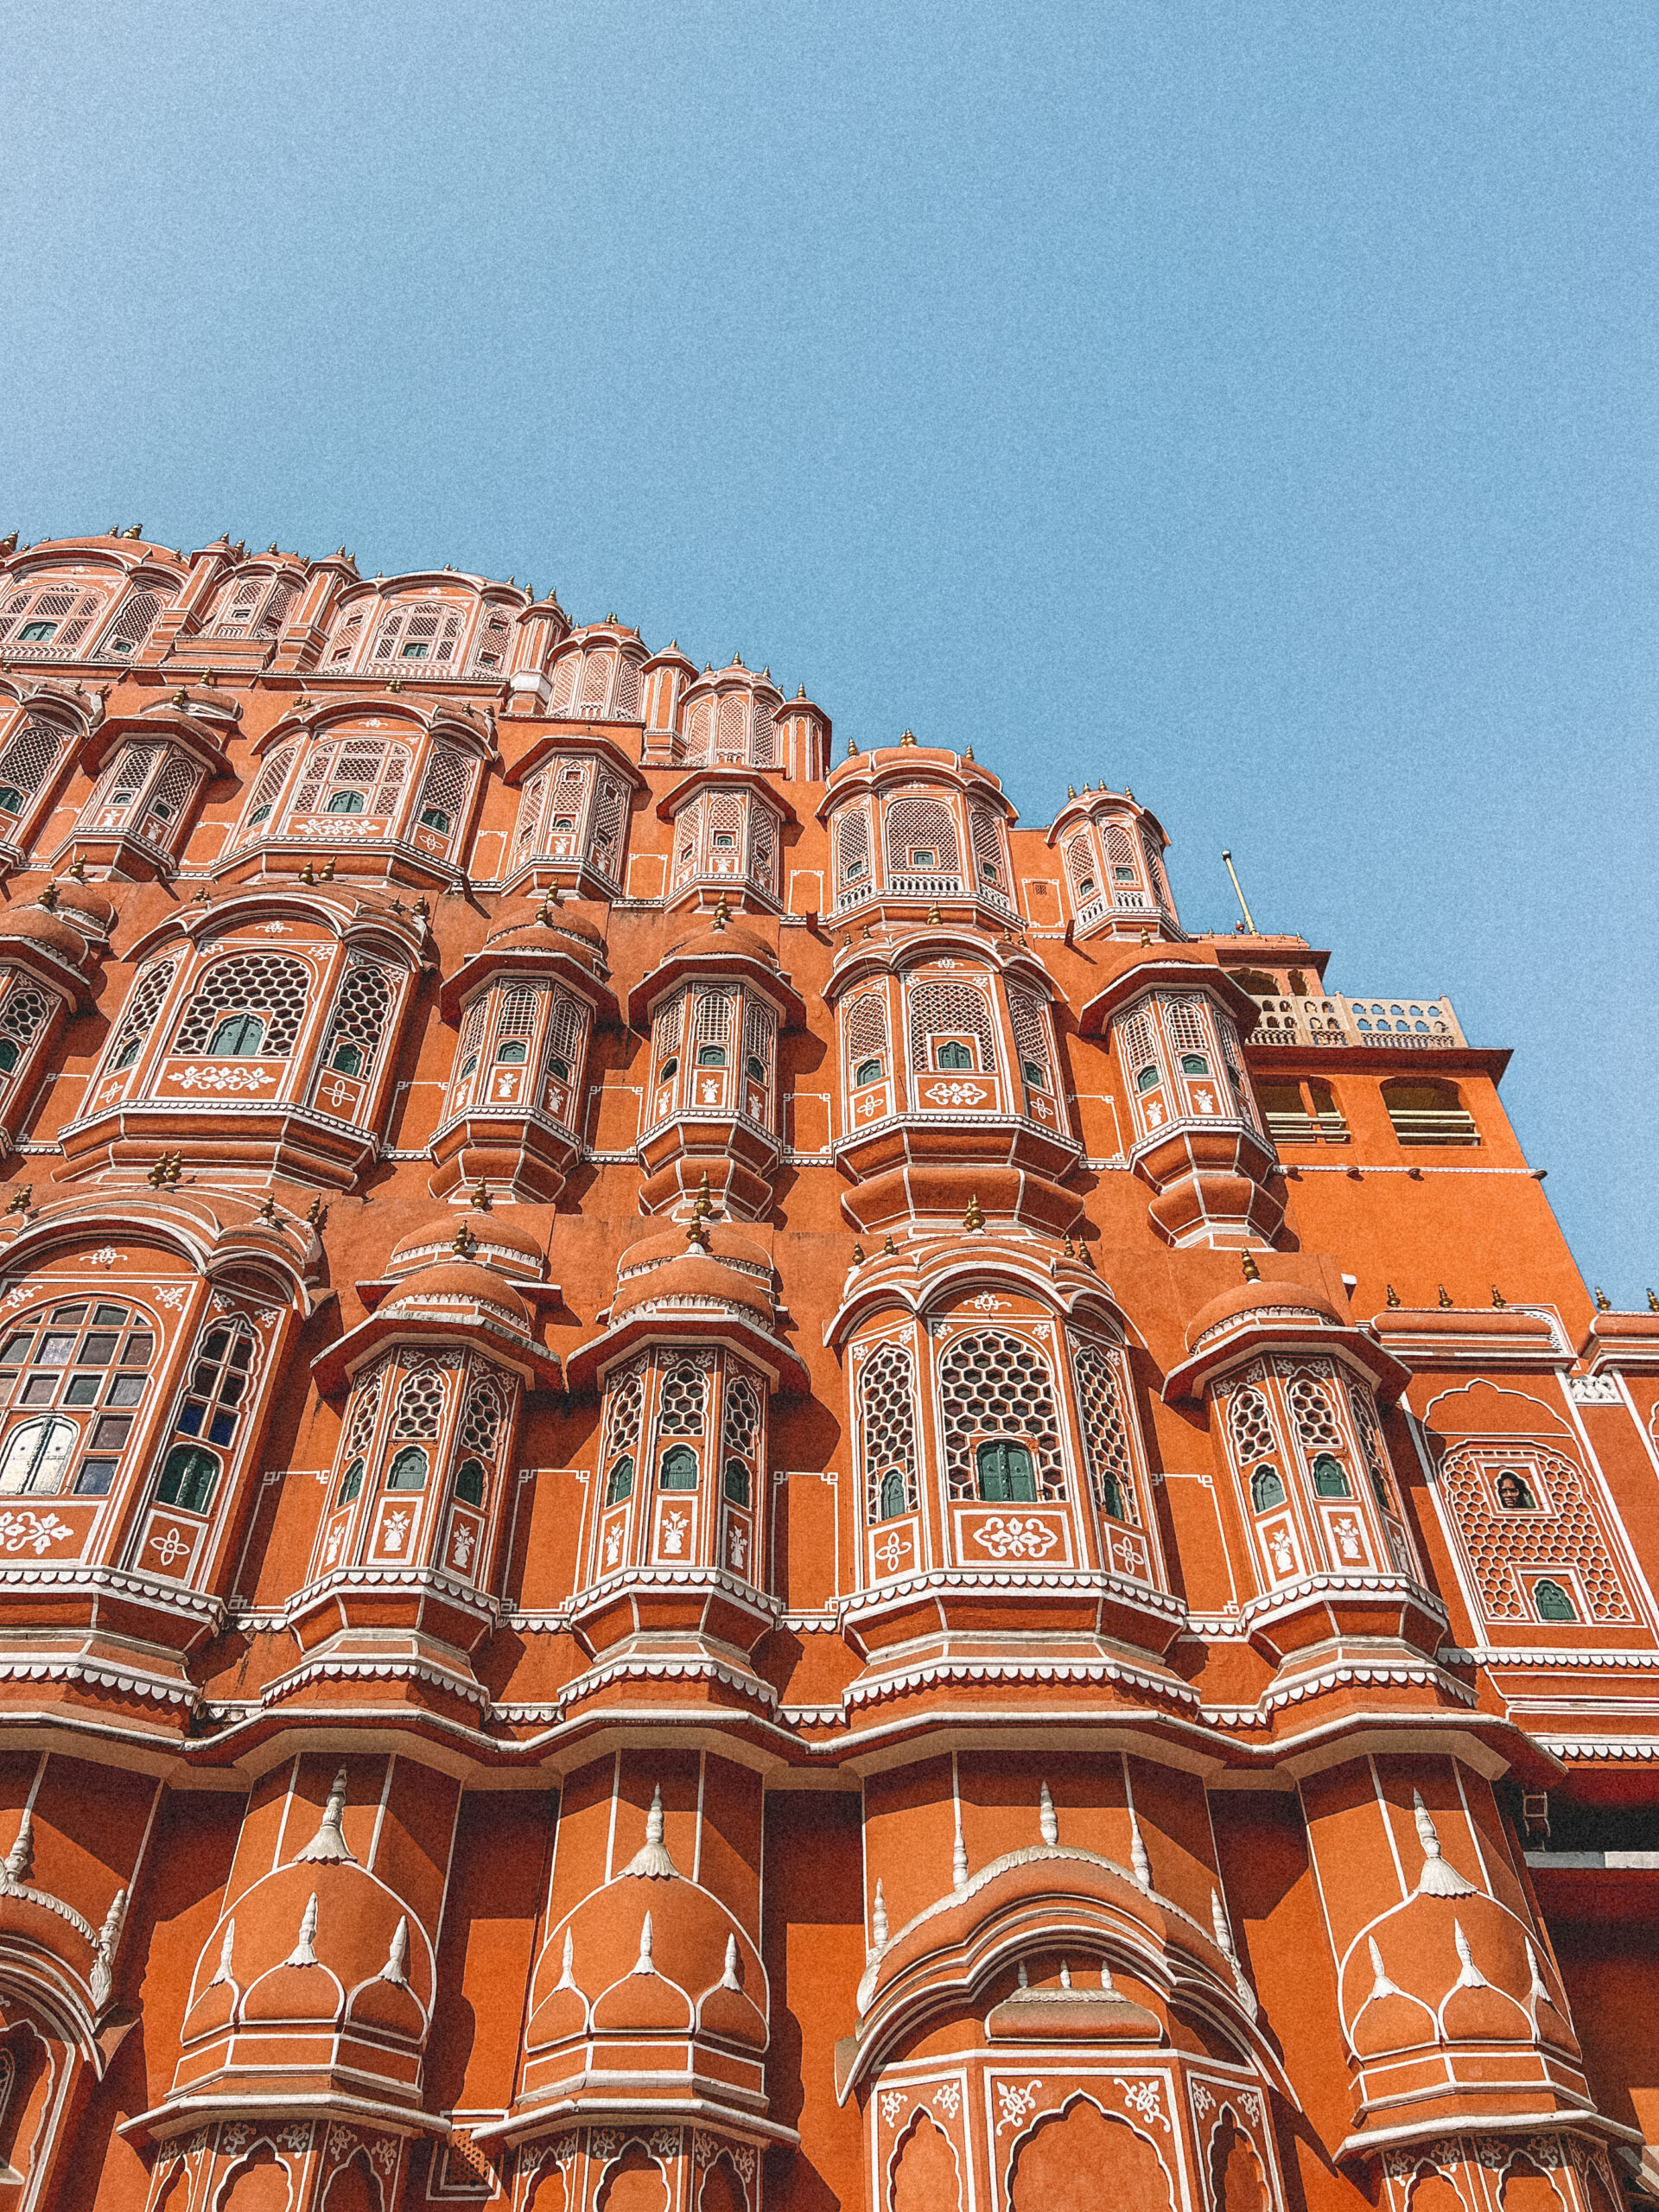
A lot of people like to make fun of the selfie stick trend. I on the other hand embrace it – especially if you’re traveling alone. You’d be surprised about how many photos on my IG feed are selfies (and you’d never guess!). It’s also great to bring along for taking artsy pictures from unique angles like the one above.
Find a likeminded Instagram-ista
I think this one is important if you’re traveling alone OR if you want a group photo. I can sometimes spend 10 minutes looking around the area I want my photo for someone that just seems like they know what they’re doing (and will understand the #struggle). A lot of times if you ask them to just shoot in burst you can get a lot of pictures (and candids) in a very short time, so you’re not becoming too annoying.
Be specific
Another bad move is giving your travel companion or random stranger your phone or camera and just say “will you take a picture of me?” It always surprises me how something so simple as taking a photo in front of a white wall can turn into a whole ordeal (aka bad). Be specific as possible. Tell them where to stand, test the lighting to make sure it’s what you want, and what you want to capture in the picture.
Hire a photographer
I’ll admit that I didn’t do this on my trip – not only was I on a very tight timeline, I was more interested in seeing the sights than getting photos taken. That being said, if I were traveling alone, I would probably have reached out to photographers to do some “touristy” photoshoots at the main sights. If you do decide to go with this option, make sure to plan ahead! Don’t just get to your destination and start furiously DMing people.
Shoot in RAW (on your phone)
Did you know that VSCO allows you to shoot in RAW on your phone? There are also a few other apps out there that do this. If you’re amazed, I was amazed discovering this halfway through my trip. You can read more about RAW here if you don’t know what it is.
But basically, long story short, raw gives you better quality and more editing power. AKA you’re taking quality to the next level on your phone.
It’s all about the edit
I saved the best for last because you’d probably never ever guess that the photo above was taken on an iphone. Well let’s just say I spent a good 45 minutes editing. I noticed that I was spending more time editing than I would have while shooting with a DSLR. But to me, it was worth not having to lug my camera around. A few of my favorite editing apps? Facetune (for blemishes, whitening, defocusing), Snapseed (general editing) and VSCO (for presets).
There you have it- my tips for taking the perfect Instagram travel shot. What are your tips for photography while traveling?



I’m loving this! Such a fan of the scarf, so chic and Euro!
Thanks for reading!